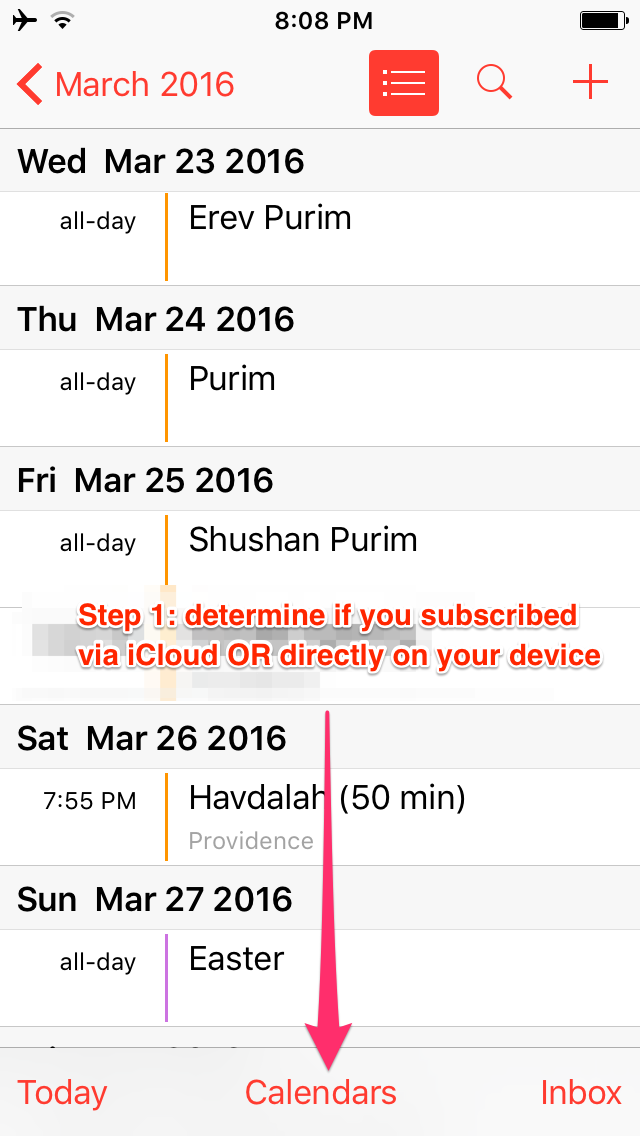
If you need to remove Hebcal events from your Outlook calendar — for example, if you imported candle-lighting times with the wrong zip code — the steps depend on how you originally added the events.
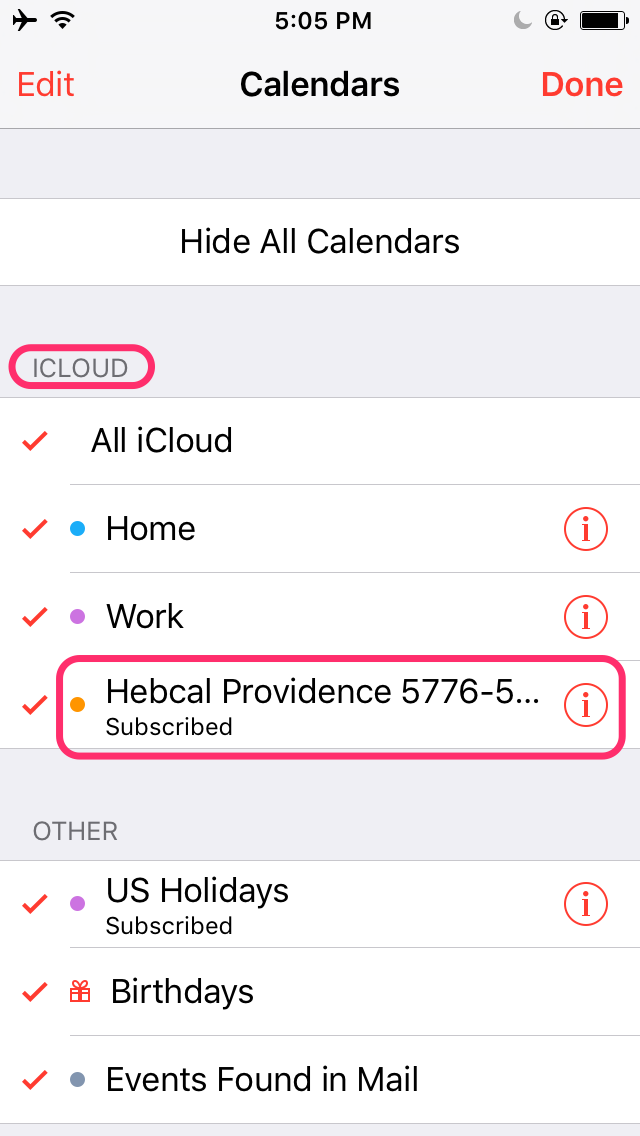
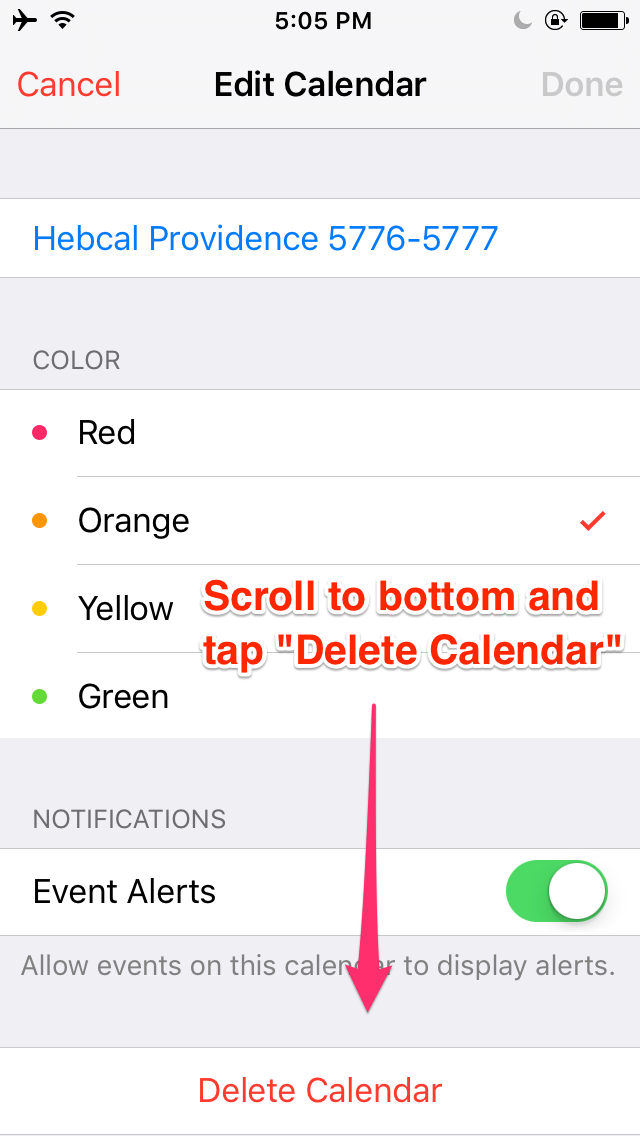
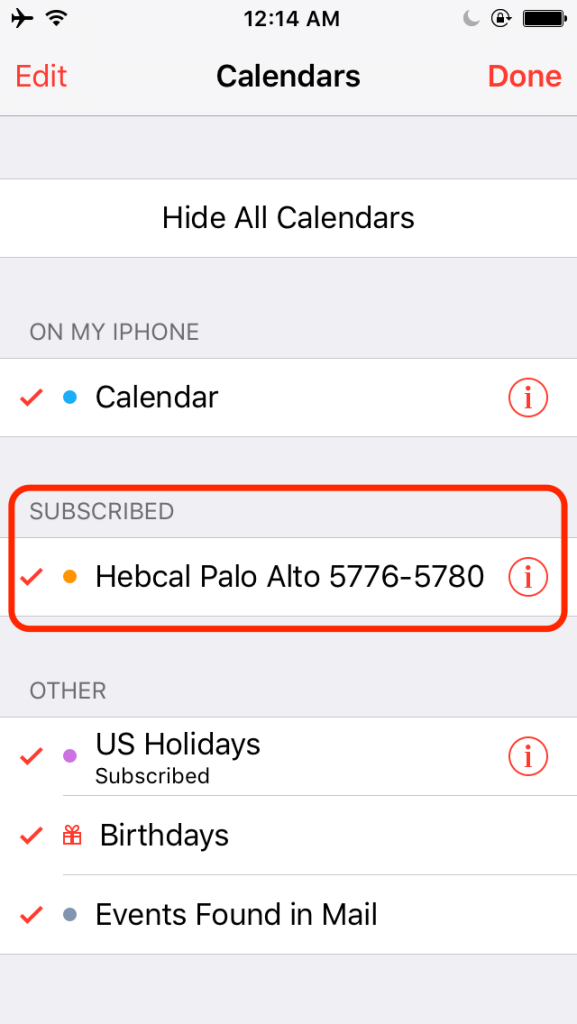
Important: These instructions apply only if you manually imported Hebcal data into your primary Outlook calendar using a CSV or ICS file download. If you used Outlook’s Internet Calendar Subscription feature instead, you can simply unsubscribe from the calendar — no need to delete individual events.
Method 1: If you imported from an ICS file download
If you added events by clicking the “Download” button on the Hebcal website (the option that says “Use this download alternative if you prefer to manually import the calendar events into Outlook and merge with your own calendar”), the events were merged directly into your primary calendar from a .ics file. You can find and remove these events using search.
To delete holidays and other Jewish calendar events imported from ICS:
- Ensure that you’re using Classic Outlook (not “New Outlook”). Microsoft provides instructions on how to go back to classic Outlook for Windows.
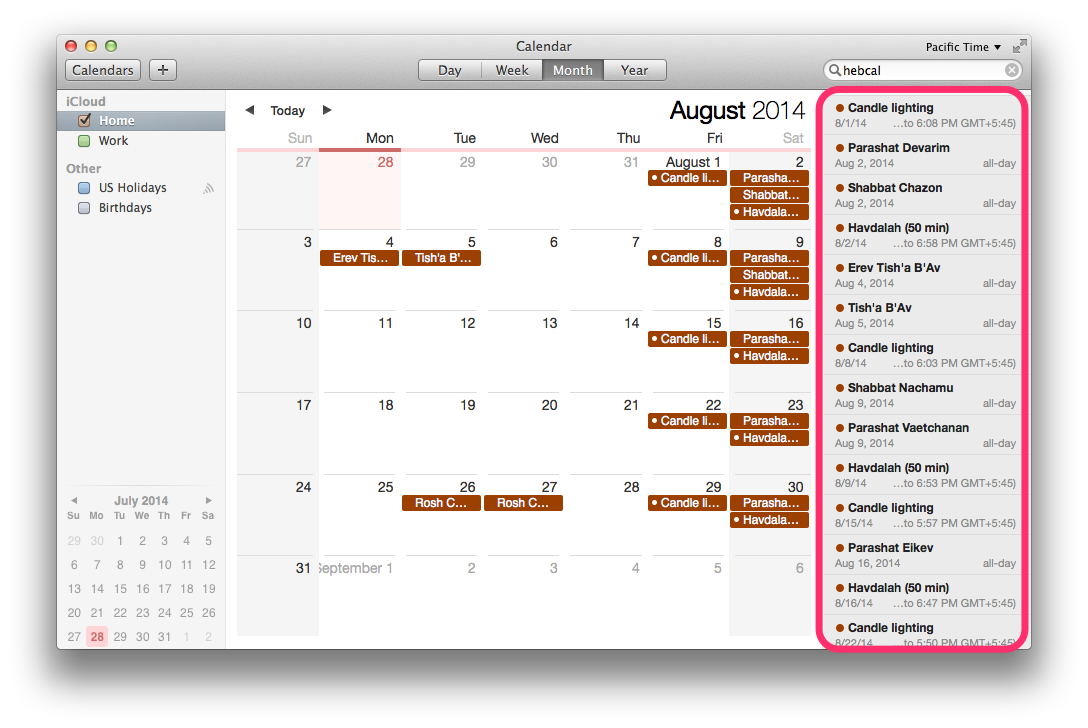
- Open your Calendar and use the Search bar to search for hebcal. Most Hebcal events include a hebcal.com URL in the event description, so this search will find the majority of imported events.
- Select the events you want to delete (use CTRL+click to select multiple events, or CTRL+A to select all search results).
- Press DELETE to remove the selected events.
To delete candle-lighting and Havdalah times imported from ICS:
- In the Calendar Search bar, search for the city name you selected when generating your calendar (for example, Boston).
- Review the results to make sure you are only selecting Hebcal candle-lighting and Havdalah events (not other calendar events that mention your city).
- Select the events you want to delete and press DELETE.
Method 2: If you imported from a CSV file
When Hebcal exports to CSV format, it puts the text “Jewish Holidays” in the Location field. This makes it easy to find and remove those entries in bulk.
To delete holidays imported from CSV:
- Ensure that you’re using Classic Outlook (not “New Outlook”). Microsoft provides instructions on how to go back to classic Outlook for Windows.
- Open your Calendar and on the View menu, point to Current View and click Events.
- Click the Location column heading to sort the list by Location. You should see “Jewish Holidays” in the Location field for the holidays you imported.
- Click to select the first holiday you want to delete.
- Hold down SHIFT and click the last holiday you want to delete.
- Press DELETE to remove all the selected holidays from your Calendar.
To delete candle-lighting and Havdalah times imported from CSV:
- Open your Calendar and on the View menu, point to Current View and click Active Appointments.
- Click the Location column heading to sort the list by Location. You should see the city name you selected when generating your calendar (for example, Boston) in the Location field for the candle lighting and other zmanim events you imported.
- Follow steps 4–6 above.
Tip: If you’re setting up Hebcal again after deleting old events, consider using Outlook’s Internet Calendar Subscription feature instead of importing. Subscriptions keep Hebcal events on a separate calendar, so they won’t affect your free/busy status and can be removed all at once by unsubscribing.