
Google Calendar – delete Hebcal

If you subscribed to a Hebcal calendar using our recommended Google Calendar Jewish holidays subscription option, follow our Google Calendar unsubscribe instructions to remove it from your Google Calendar list.

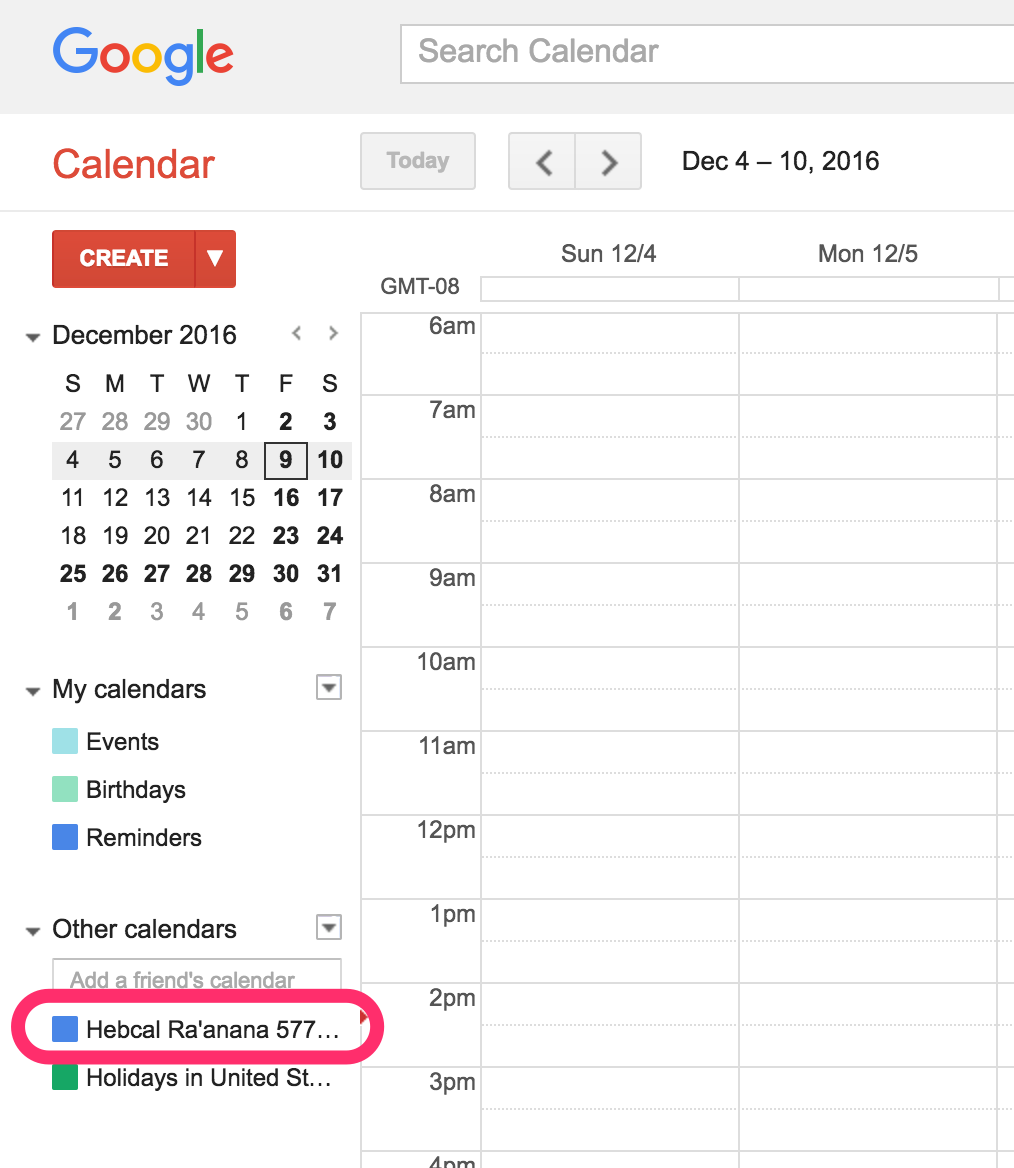
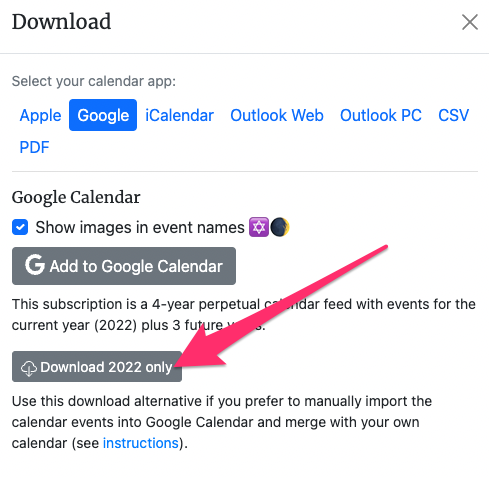
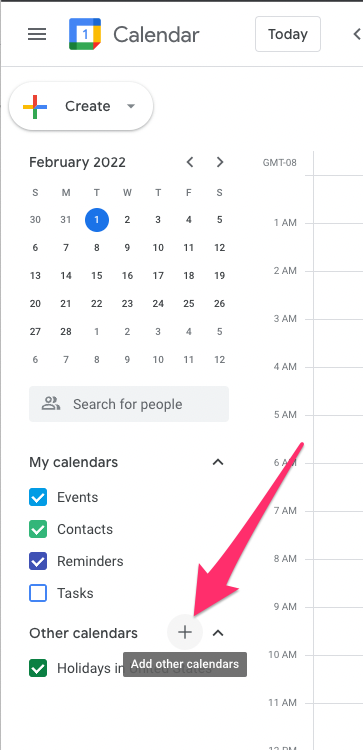
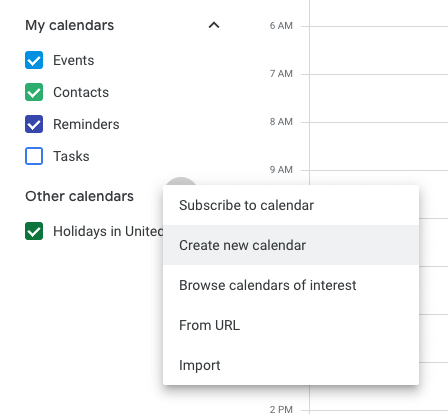
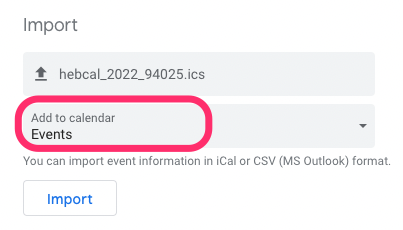
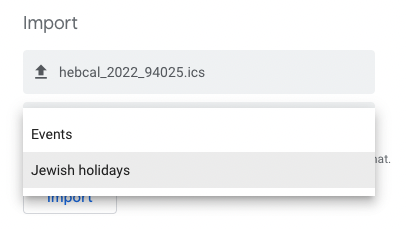
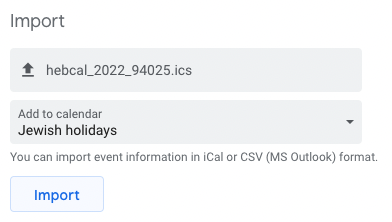
If you manually downloaded Hebcal events using our Google Calendar alternative instructions and imported them into separate calendar (listed under “My calendars”), follow these instructions:

  1. On your computer, open Google Calendar.
  2. In the top right, click Settings  >  Settings.
  3. In the left column, find the calendar you want to delete.
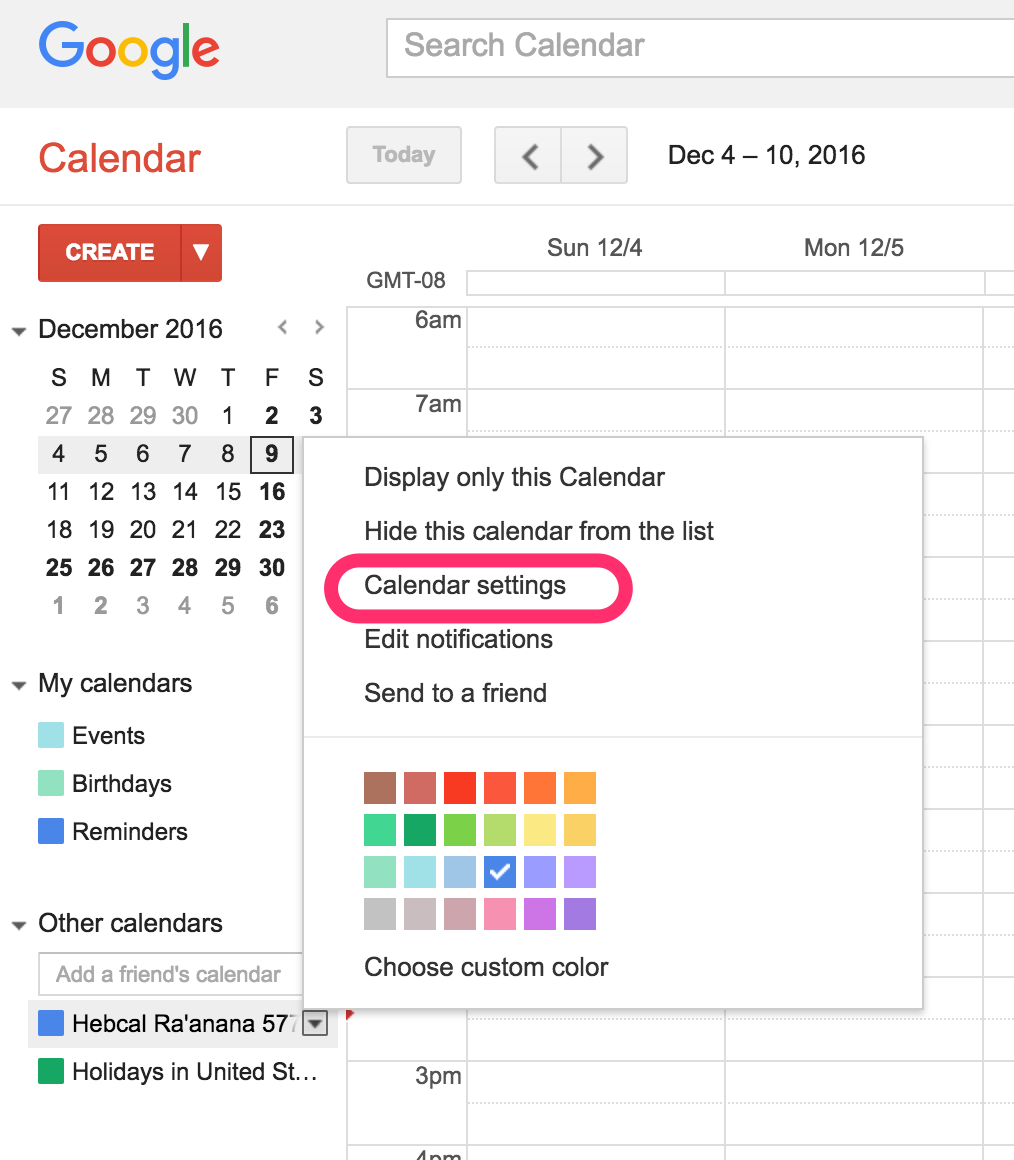
  4. Click the name of the calendar.
  5. Click Remove calendar >  Delete > Delete permanently.

If you manually downloaded Hebcal events and merged them with (embedded them into) your personal calendar, the process is more difficult. Unfortunately, Google does not provide a simple way to bulk delete multiple calendar events. Although there really isn’t another option than to delete each event individually, you can change your view to Schedule view to see more events at once. From here you can delete each event individually and even make use of the search feature to find the events that you’re looking for.

  1. While in Google Calendar, click on the date range dropdown at the top right and change the view to Schedule view.
  2. Click on the magnifying glass icon at the top and search for the events that you’d like to delete. For example, try searching for “hebcal”
  3. Click on an event and then on the trash can symbol in the popup to delete it.

For other recommendations on how to remove multiple events from Google Calendar, see this excellent article: Google Calendar – Delete Multiple Events At Once (2022).

Number of years in Hebcal calendar feed subscriptions

Calendars exported from Hebcal via our subscription feeds (using iCalendar format) are typically “perpetual”. That is, they contain events for the current year (Gregorian or Hebrew) plus some number of years into the future. Most downloads (including Apple, Google Calendar, and Microsoft Outlook) support these perpetual calendar subscription feeds.

Using the default options on the Hebcal Custom Calendar page, our calendars will contain exactly 5 years of events (current year plus 4 years into the future). This is true whether you select the Gregorian year or the Hebrew year.

Size limitations imposed by Google and other calendar clients starting in 2016 require that Hebcal limit the number of events per calendar feed. If the options you select generate many events, the feed may need to be shortened.

OptionFeed duration (years)Number of calendar events per year (approx)
Major holidays only540
Major & minor holidays, Rosh Chodesh, Minor Fasts, Special Shabbatot, Modern Holidays595
Weekly Torah portion on Saturdays550
Candle lighting times4120
Days of the Omer449
Show Hebrew date for dates with some event3variable
Show Hebrew date every day of the year2365
Daf Yomi2365
Daf Yomi and Hebrew date every day of the year1730
Table of Hebcal options and corresponding effect on calendar feed duration

Workaround: multiple subscriptions

Note that if you’d like to include the Hebrew date for every day of the year, you can subscribe to that calendar via a separate calendar feed at our Jewish Holiday downloads page. Look for Hebrew calendar dates (English) or Hebrew calendar dates (Hebrew). Daf Yomi and other large single-purpose iCalendar feeds are also available on that page for Apple, Google, and any iCalendar application.

An added advantage of the multi-subscription approach is that you can choose separate colors in Google Calendar or iOS/iCloud calendar for each calendar event feed.

Advanced users: download and then upload

All that said, if you’d like to download future events to Google Calendar or another program that supports iCalendar (.ics) files such as macOS Calendar or Outlook, you may utilize Hebcal’s alternative download instructions below. This technique requires a laptop/desktop computer and generally does not work well on a smartphone or tablet. Note that once downloaded, these .ics files are no longer managed by Hebcal and will not refresh.

Please note that these instructions are recommended only for advanced users. If you don’t take great care to create a separate calendar and import Hebcal events into that new, separate calendar, you may unintentionally add hundreds of events to your personal calendar.

Android calendar Jewish holidays download

We’re pleased to offer Jewish holiday downloads for many Android devices through a two step process that sends Hebcal data first to Google Calendar, and then to your Android phone or tablet.

Note that Hebcal is not an app for Android (in the Google Play sense of apps that you install). Rather, Hebcal is a website that allows you to download/export calendar data to the calendar application that comes natively with your device.

1. Follow our Google Calendar Jewish holidays download instructions.

2. Go back to your Android device and enable synchronization to Google Calendar. Follow Google’s Sync Calendar with a phone or tablet instructions.

Note that there appears to be a limitation in Android calendar where events more than one year in the future will NOT sync to your device. The events are visible on the Google Calendar on the Web but will not download to the device until the current date approaches more closely.

See these articles for more detail:

How do I sync Google Calendar events that occur more than one year in the future?

Android Bug #41281


Google Calendar Jewish holidays download

Follow these instructions to add a Hebcal Jewish holiday calendar 5-year feed to Google Calendar.

Note: these instructions work best on a laptop/desktop computer and are less reliable on a mobile phone or Apple/Android tablet. On mobile devices, the Google Calendar app sometimes takes over from the mobile web browser. The mobile web version of Google Calendar won’t always subscribe to a third-party calendar.

1. Open a web browser on your computer. Navigate to https://www.hebcal.com/hebcal if you’re downloading a holiday calendar, or https://www.hebcal.com/yahrzeit if you’re downloading a Yahrzeit + Anniversary calendar

2. Fill out the form with your preferences and click the Create Calendar button

3. Click the Download button

Step 3: Click the Download button

4. Select the Google Calendar option from the Download dialog box

Step 4: Select the Google Calendar option from the Download dialog box


5. Click on the grey “Add to Google Calendar” button

Step 6: Click Add when Google Calendar prompts you to add the calendar from download.hebcal.com

6. Click Add when Google Calendar prompts you to add the calendar from download.hebcal.com

7. Next, Google Calendar will display a brief message at the bottom of the screen that says “Calendar added.”

8. After 3-4 minutes, you’ll see your new calendar in the left sidebar under “Other calendars”

Step 8: After 3-4 minutes, you’ll see your new calendar in the left sidebar under “Other calendars”

9. If you need to make changes, you can click on the Hebcal calendar in the left and select “Calendar settings” from the pop-up menu.

10. Congratulations! Your calendar is now subscribed and you will receive perpetual updates.

Note: if you prefer to manually import the calendar events into Google Calendar and merge with your own calendar, we offer Google Calendar alternative instructions.

Google Calendar alternative instructions – Jewish holidays download

If you’re having difficulty using the default importing Hebcal to Google Calendar instructions, here is an alternative technique to try that replaces the “subscribe” step with downloading and uploading.

Note that this technique requires a laptop/desktop computer (macOS, Windows, Linux), and generally will not work on a tablet or a phone.

Please note carefully step 10 and step 15 below. These steps have you create a new, separate calendar to upload your Hebcal events. A separate calendar allows you to assign a different color and notifications to events. If you skip these steps you may inadvertently merge Hebcal events with your own calendar events, and this will make it difficult to remove Hebcal events in the future should you choose to do so.

1. In your web browser, navigate to https://www.hebcal.com/hebcal if you’re downloading a holiday calendar, or https://www.hebcal.com/yahrzeit if you’re downloading a Yahrzeit + Anniversary calendar.

2. Fill out the form with your preferences and click the Create Calendar button

3. Click the Download… button

4. Select the Google Calendar option from the Download dialog box

5. Click on the “Download YYYY only” button to download the hebcal_YYYY.ics file to your desktop

6. If presented with a dialog box, be sure to chose the “Save File”, not “Open With …”
hebcal download save file vs open with dialog box

7. After the .ics file has downloaded, do not open it on your desktop.

  • Leave it sitting in your Downloads folder for now.
  • You will use it in step 13 below.

8. Return to your web browser and visit Google Calendar

9. Click the large + (Plus) button next to the “Other calendars” list on the left-hand side of the page

10. Select “Create new calendar”. A separate calendar allows you to assign a different color and notifications to events.

11. On the “Create new calendar page”, type the name “Hebcal” or “Jewish holidays” or whatever you’d like to call it, and click the blue Create calendar button

12. Back on the mail Google Calendar page, once again click the large + (Plus) button next to the “Other calendars” list on the left-hand side of the page

13. Select Import from the pop-up menu

14. Click on the grey Select file from your computer box, browse to your Downloads folder, choose the hebcal_YYYY.ics file that contains your events, then click Open

15. Change the calendar option from the default (e.g. “Events”) calendar to your new, separate “Jewish holidays” calendar that you created earlier in Step 10.

Please don’t skip this step! If you don’t select the correct “Jewish holidays” calendar, you will merge Hebcal events with your own calendar events. This will make it difficult to remove merged Hebcal events in the future should you choose to change your calendar settings.

Select “Jewish holidays” instead of “Events”

16. Confirm that the “Add to calendar” box says “Jewish holidays”, then click the import button

17. Wait a minute or two for your web browser to upload the .ics file to Google and for Google Calendar to finish processing the events.

18. Google will report that the calendar successfully imported some number of events, then click the blue OK button.

19. Congratulations! Enjoy your new calendar.